Playing with Gitlab Community Edition

Gitlab CICD The DevOps Platform
For a long time and in my day-to-day work at Disney Media Entertainment and Technology the Gitlab platform has become one of my favorite tools to orchestrate all the CICD workflow. Since 4 years ago I have used Gitlab for everything, and always learning something new as understanding the pipeline architectures, but in order to test all the features that Gitlab offers, I was thinking to create this blog post to host our own private instance of Gitlab, this is also a great way to save this knowledge here in my personal space and maybe is going to be useful for somebody that is making experiments or validating knowledge.
GitLab helps you automate your code’s builds, integration, and verification. With SAST, DAST, code quality analysis, test automation and pipelines that enable concurrent testing and parallel execution, our teams get quick insights about every commit to deliver higher quality code faster.
Gitlab is open source and it comes in two distributions: the Enterprise Edition(EE) and the Community Edition(CE). The Gitlab CE Edition allows you to self-managed, install on your own infrastructure with lots of different options including :
- Package Managers
- Kubernetes Deployments
- Docker
- Using Gitlab Environment Toolkit (GET)
Today I will explain you how you can install Gitlab CE on your machine, this could be replicated to another infrastructure like using EC2 instances; how you can register your own Gitlab runner in your own machine using two approaches the docker option and installing the binary in the machine and test this with a few small pipelines.
Docker install
One of the most popular tools to run containers is Docker, The key advantage of Docker is that all your dependencies are written in code. So if you have a Dockerfile in your repository, the code will run no matter where it is running, as long as Docker is installed. That’s very powerful, the abstraction and all package as only one container. Second, it’s isolation. If you have two apps running on the same machine, one can easily use Python 3.8 while the other uses 3.0 and other great benefits.
Now we’re going to use Docker Compose a tool for defining and running multi-container Docker applications. With Compose, you use a YAML file to configure your application’s services. Then, with a single command, you create and start all the services from your configuration, Gitlab provides different samples of the docker-compose.yaml file.
For this post we need to create a file called docker-compose.yaml and inside it we paste the following code:
version: '3.6'
services:
  gitlab-web:
    image: 'gitlab/gitlab-ce:latest'
    hostname: gitlab
    restart: always
    container_name: gitlab
    ports:
      - '80:80'
      - '443:443'
      - '22:22'
    volumes:
      - 'gitlab_config:/etc/gitlab'
      - 'gitlab_logs:/var/log/gitlab'
      - 'gitlab_data:/var/opt/gitlab'
    shm_size: '4gb'

volumes:
  gitlab_config: {}
  gitlab_logs: {}
  gitlab_data: {}
This will create a service called gitlab-web exposing the different ports that are required by the Gitlab instance and persist the configurations using a feature called Docker Volumes, we also use the official latest Docker image for the Community Edition and set the shared memory to 4GB which is limited by default.
In addition to that we could also add a service to define a gitlab runner but this will be optional and up to you :
  gitlab-runner:
    image: gitlab/gitlab-runner:latest
    volumes:
      - '.gitlab_runner:/etc/gitlab-runner'
      - 'gitlab_runner_sock:/var/run/docker.sock'
As I prefer for my test to use my macbook pro,we are required to install gitlab-runner using brew as follows:
brew install gitlab-runner
With all these settings in place you should have a file like this:
h3ct0rjs in ~/Developer/Fun/Gitlab λ tree
.
└── docker-compose.yml

h3ct0rjs in ~/Developer/Fun/Gitlab λ gitlab-runner --version
Version:      15.3.0
Git revision: bbcb5aba
Git branch:   15-3-stable
GO version:   go1.17.13
Built:        2022-08-19T22:37:06+00:00
OS/Arch:      darwin/amd64
We are ready to run our deployment using the docker-compose command :
docker-compose up -d

docker-compose running.
After a few minutes you should be able to navigate http://localhost and see what it is shown below:

Gitlab CE Installation Completed.
We need to get the default password for our user root, in order to do that we need to execute:
docker exec -it gitlab grep 'Password' /etc/gitlab/initial_root_password
With this we get the Password and fill that information in the proper Gitlab instance:

Gitlab private instance, running successfully.
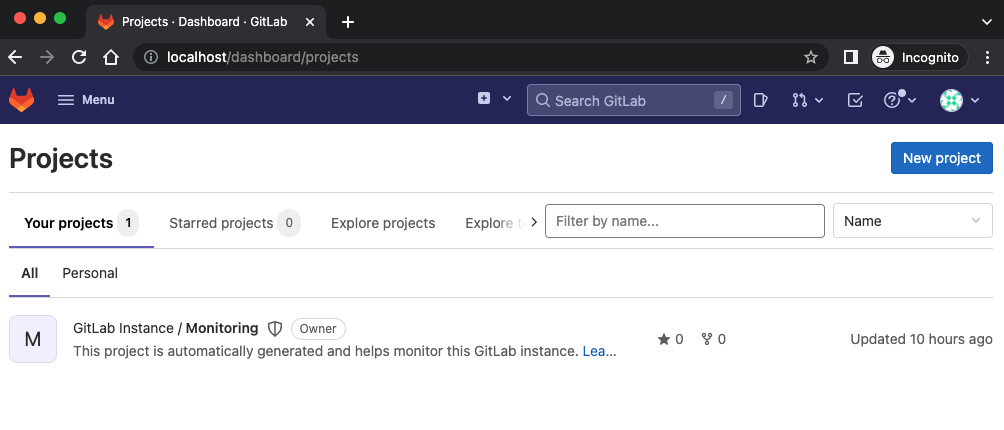
Getting the password for root default user
Now that’s everything that we need to install our Gitlab CE private Instance. If you click the menu you will see the Admin option there. Gitlab Admin Dashboard Option Menu
Gitlab Runners Setup

Gitlab Runners, HighLevel Diagram
GitLab Runner is an application that works with our GitLab CI/CD private instance to run jobs in a pipeline, a job is the simplest possible CI/CD configuration and it is composed of commands, this jobs are picked up by runners and executed in the environment of the runner. What is important is that each job is run independently from each other. We can choose to install the GitLab Runner application on infrastructure that we own like your laptop using the binary in the host OS or using a docker container; other alternatives are AWS ec2 instances, Kubernetes clusters etc. If you do, we should install GitLab Runner on a machine that’s separate from the one that hosts the GitLab instance for security and performance reasons, but for this blog post is a simple environment to learn how to install Gitlab CE we can use the same machine.
We will be using two kind of runners :
- Using the same host or laptop
- Using a container with the previous docker-compose snippet.
For general knowledge the following picture reflects the interaction between the runner and our Gitlab private instance :

General flow for the Gitlab runner behaviour
Having the previous sequence diagram in mind we proceed to register our gitlab runners using the following command :
gitlab-runner register --url http://localhost/ --registration-token YOURTOKEN \
   --clone-url http://YOURIP/ --executor docker --docker-image alpine
It is important to get YOURTOKEN value for this Navigate to Menu>Admin>Runners and click on register an instance runner and reveal the password.Also getting the YOURIP value will vary depending on your local network, in this case for me is the ip address that my router has assign me via DHCP 192.168.1.39 and in your Runner list you should see something like this :
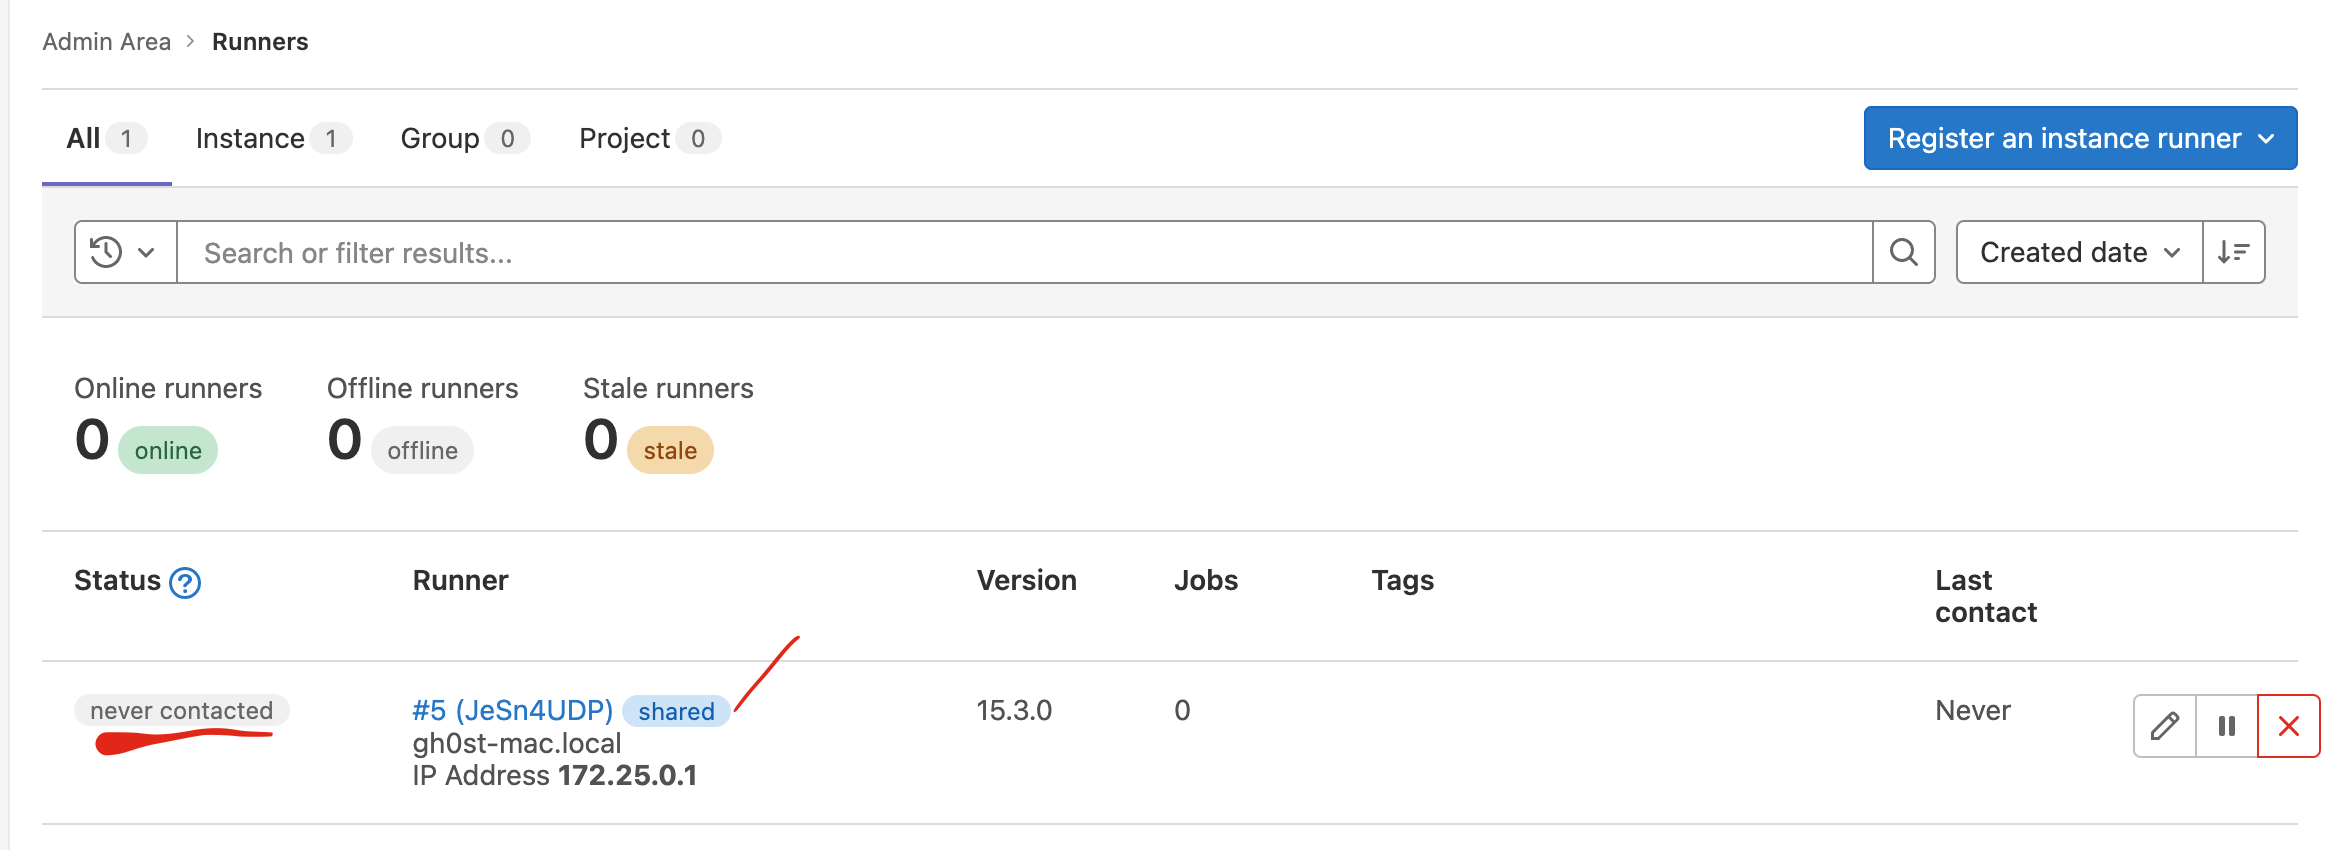
First Runner Registered
Now our first Gitlab Runner is registered and we should verify our connection, for this we need to send a signal from the Gitlab runner to the Gitlab CICD private Instance as follows :
gitlab-runner verify
Checking on the runners state now we can see is available and online.
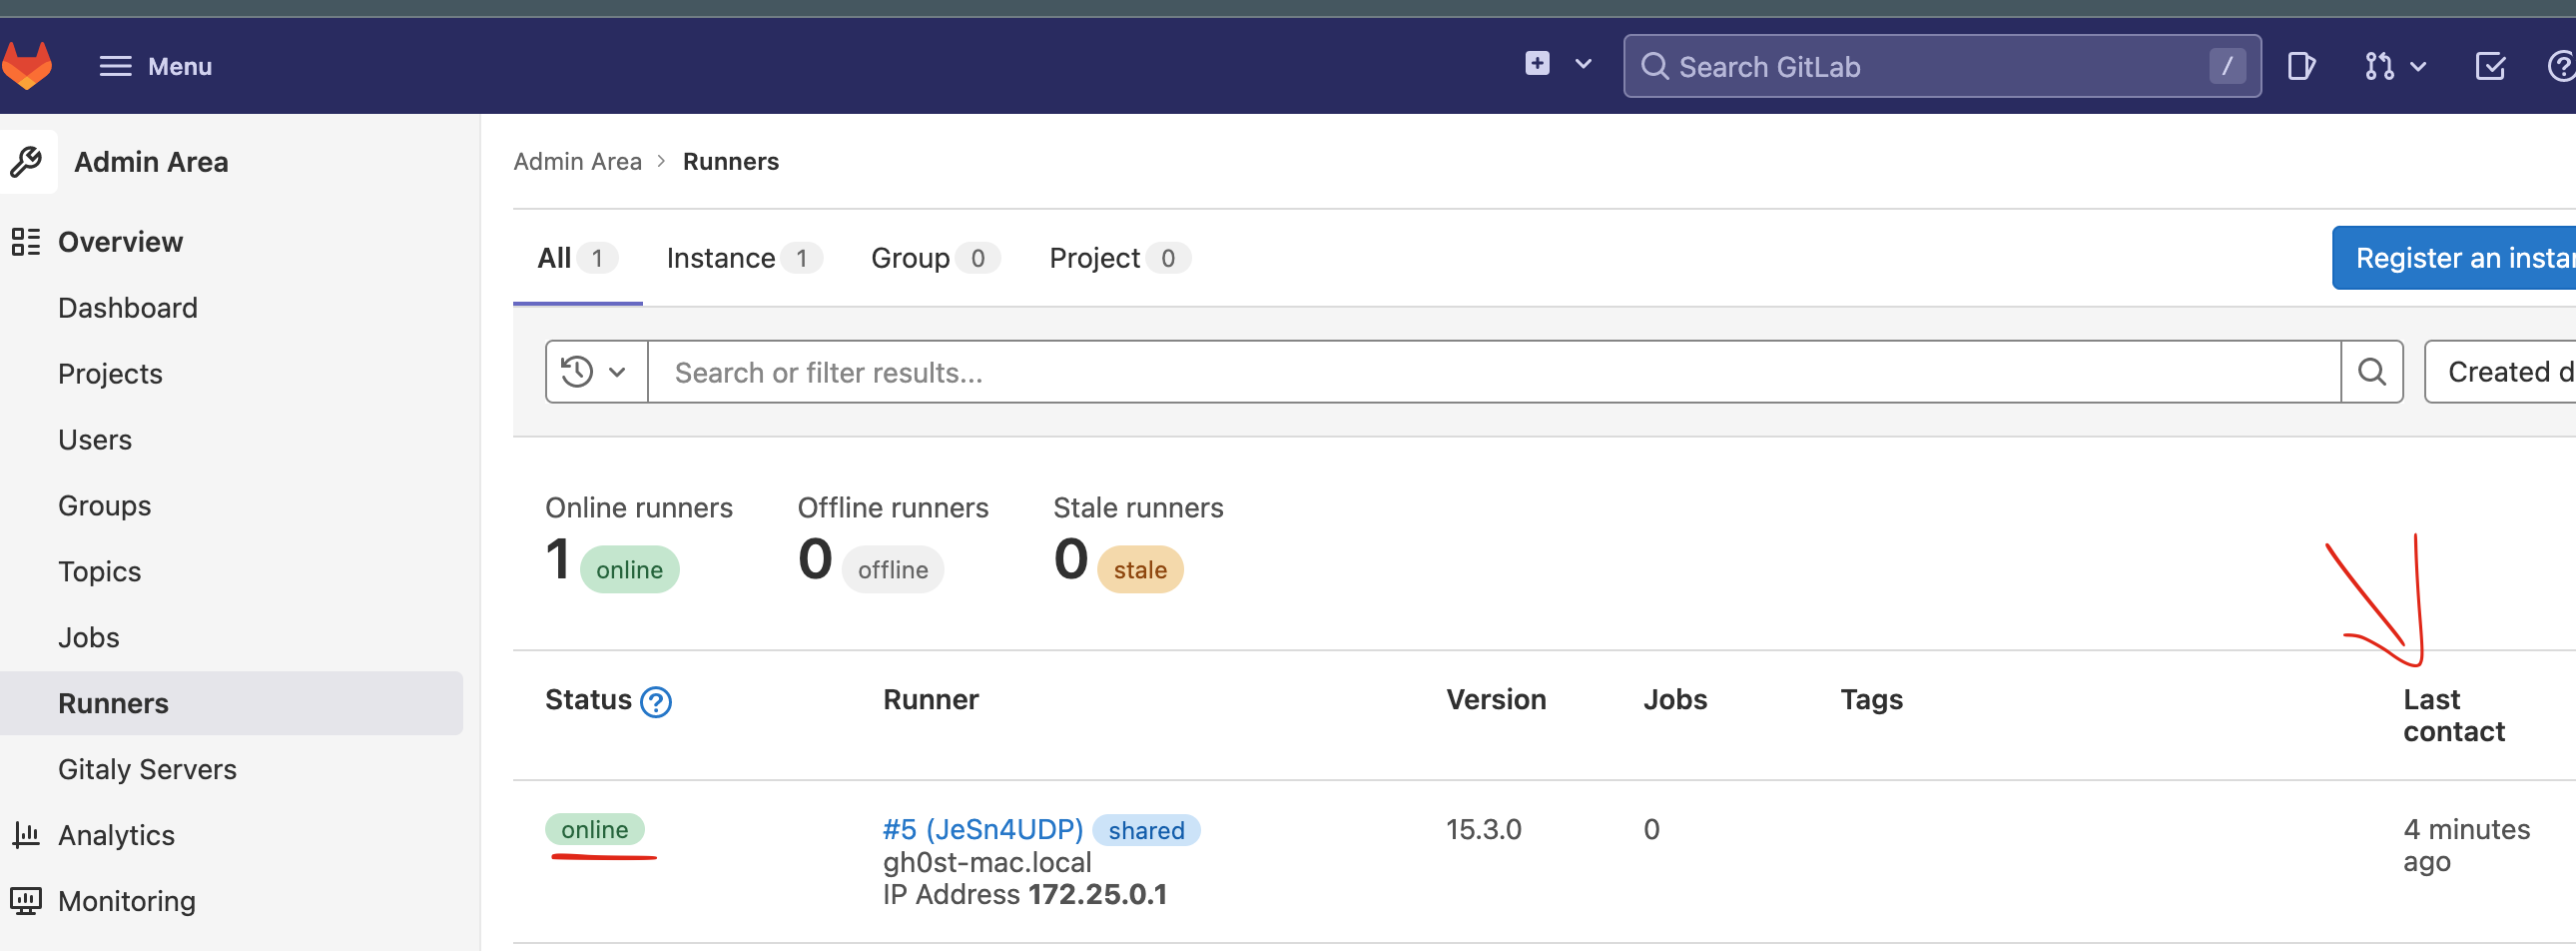
Gitlab Runner Online and available
Now the previous process should be done in all the runners that we want to use for our builds.
Testing our runners
For our testing phase, we need to create a blank project and use the following content gitlab-ci.yml file :
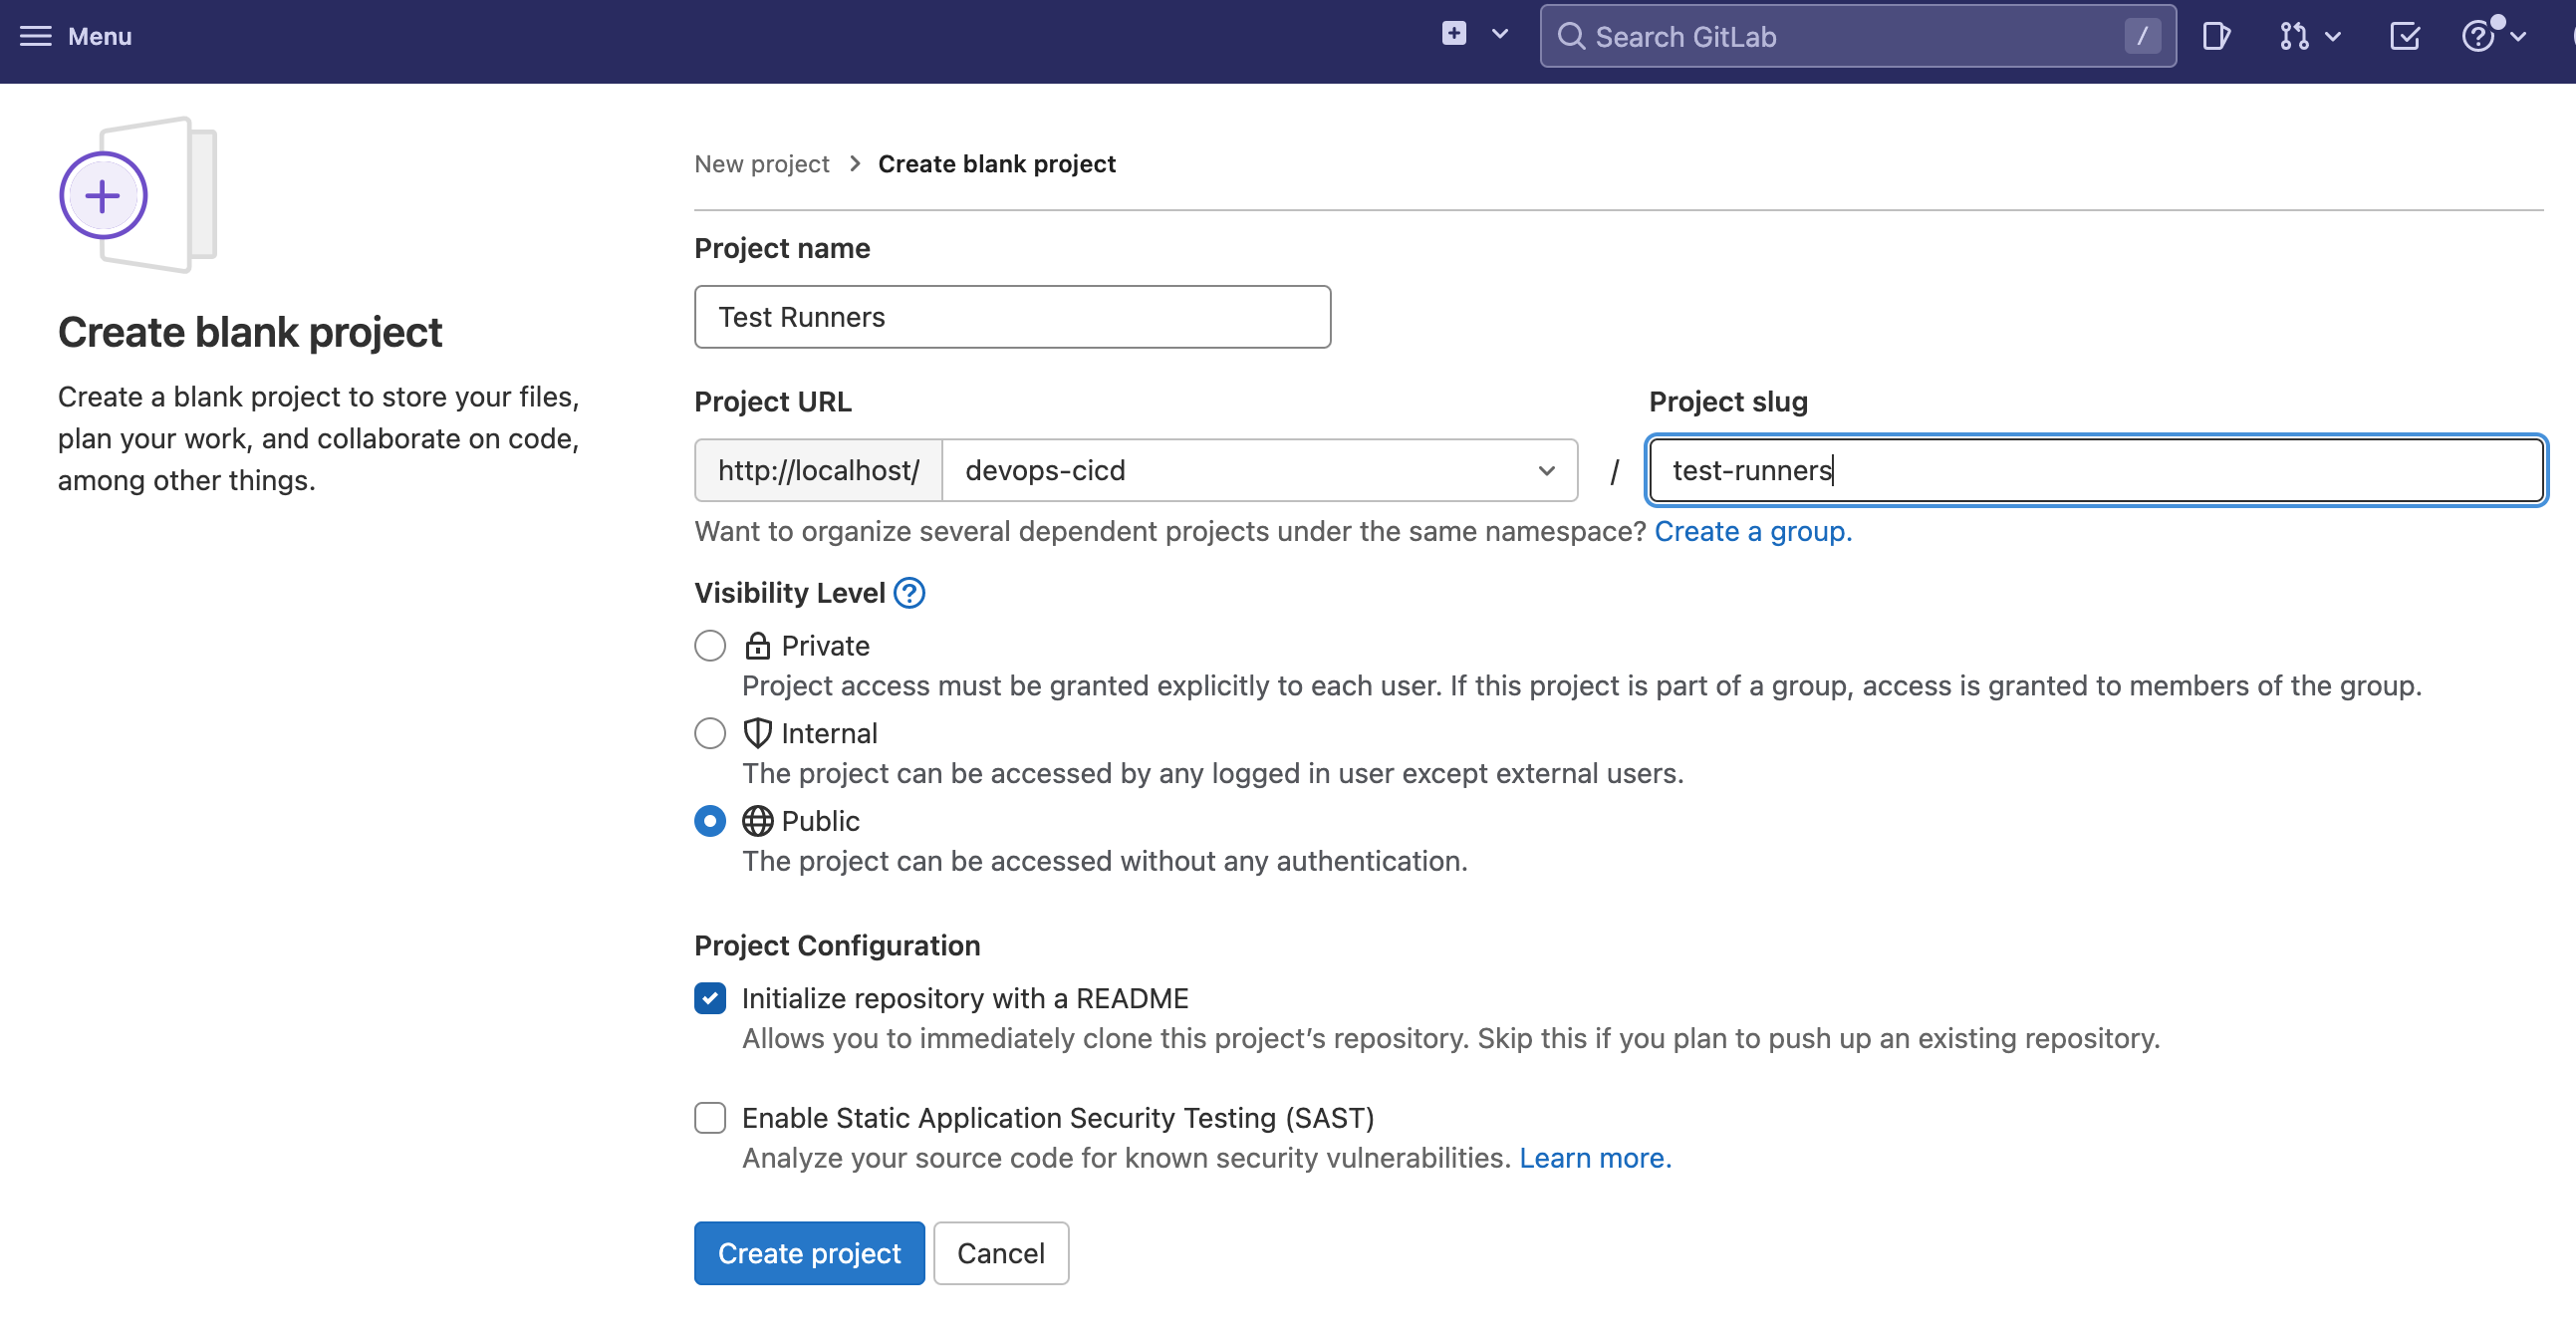
Create Blank Project
stages:
  - build
  - test
  - deploy

image: alpine

build_a:
  stage: build
  script:
    - echo "This job builds something."

build_b:
  stage: build
  script:
    - echo "This job builds something else."

test_a:
  stage: test
  script:
    - echo "This job tests something. It will only run when all jobs in the"
    - echo "build stage are complete."

test_b:
  stage: test
  script:
    - echo "This job tests something else. It will only run when all jobs in the"
    - echo "build stage are complete too. It will start at about the same time as test_a."

deploy_a:
  stage: deploy
  script:
    - echo "This job deploys something. It will only run when all jobs in the"
    - echo "test stage complete."

deploy_b:
  stage: deploy
  script:
    - echo "This job deploys something else. It will only run when all jobs in the"
    - echo "test stage complete. It will start at about the same time as deploy_a."
Now after creating our first gitlab-ci.yml file the pipeline is going to be triggered :
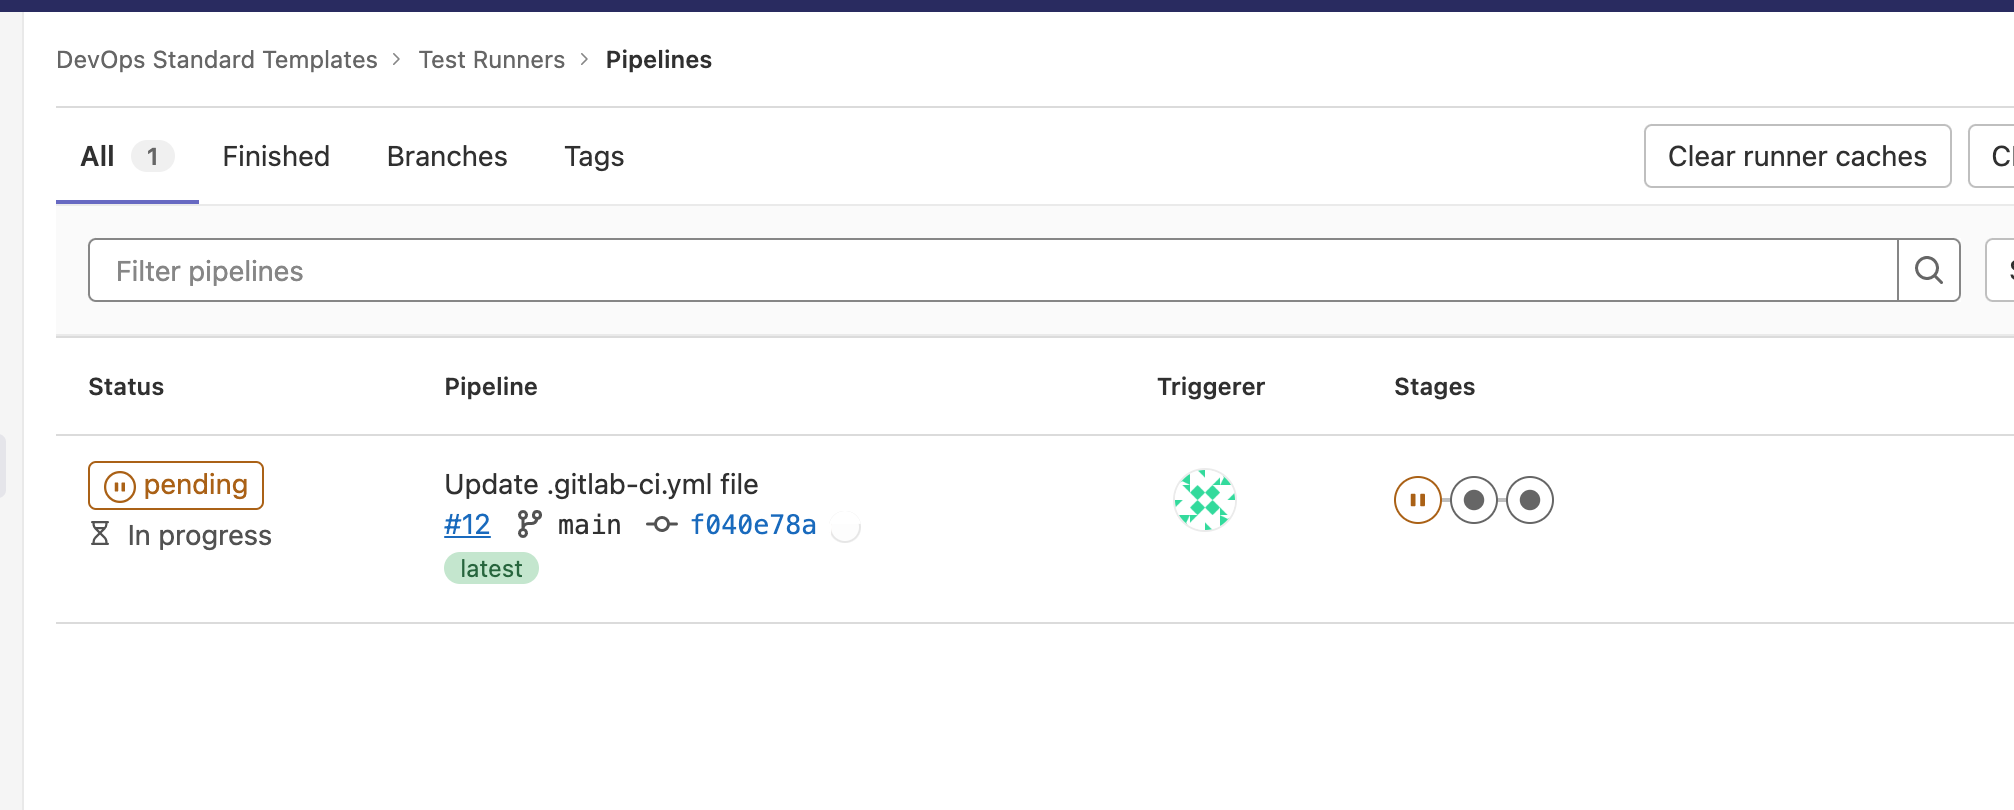
Pipeline is triggered after creating the gitlab-ci.yml file
But our job has been queued and is not running as expected :
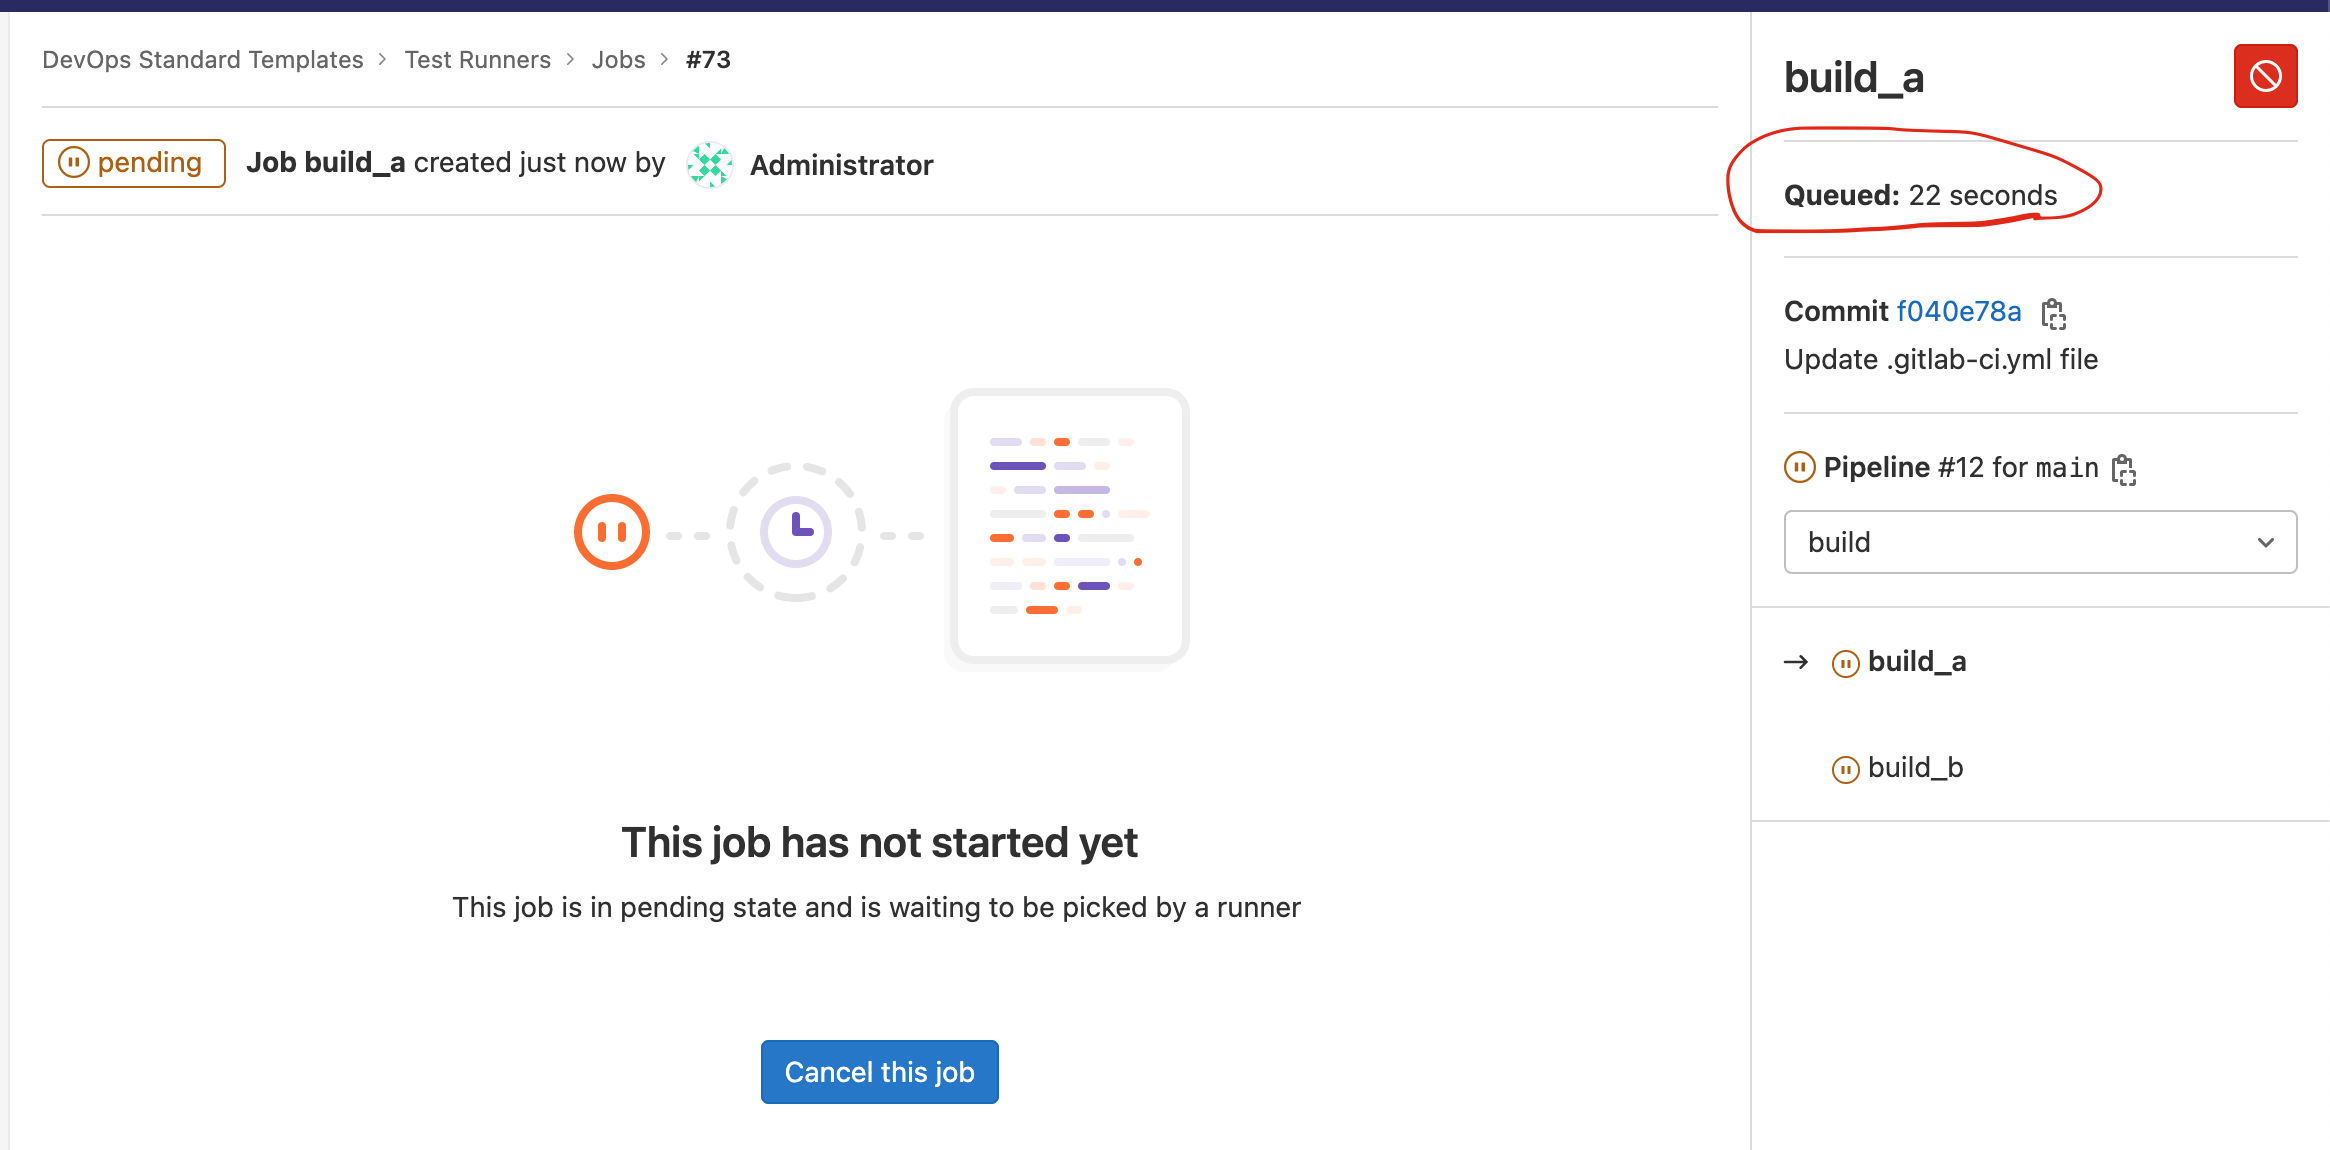
Queued job, why is it not running ?
The trick here is to run and activate the runner as follows :

Activating the runner for the local machine
Now our job has been done, the job is running successfully. Successfully job executed
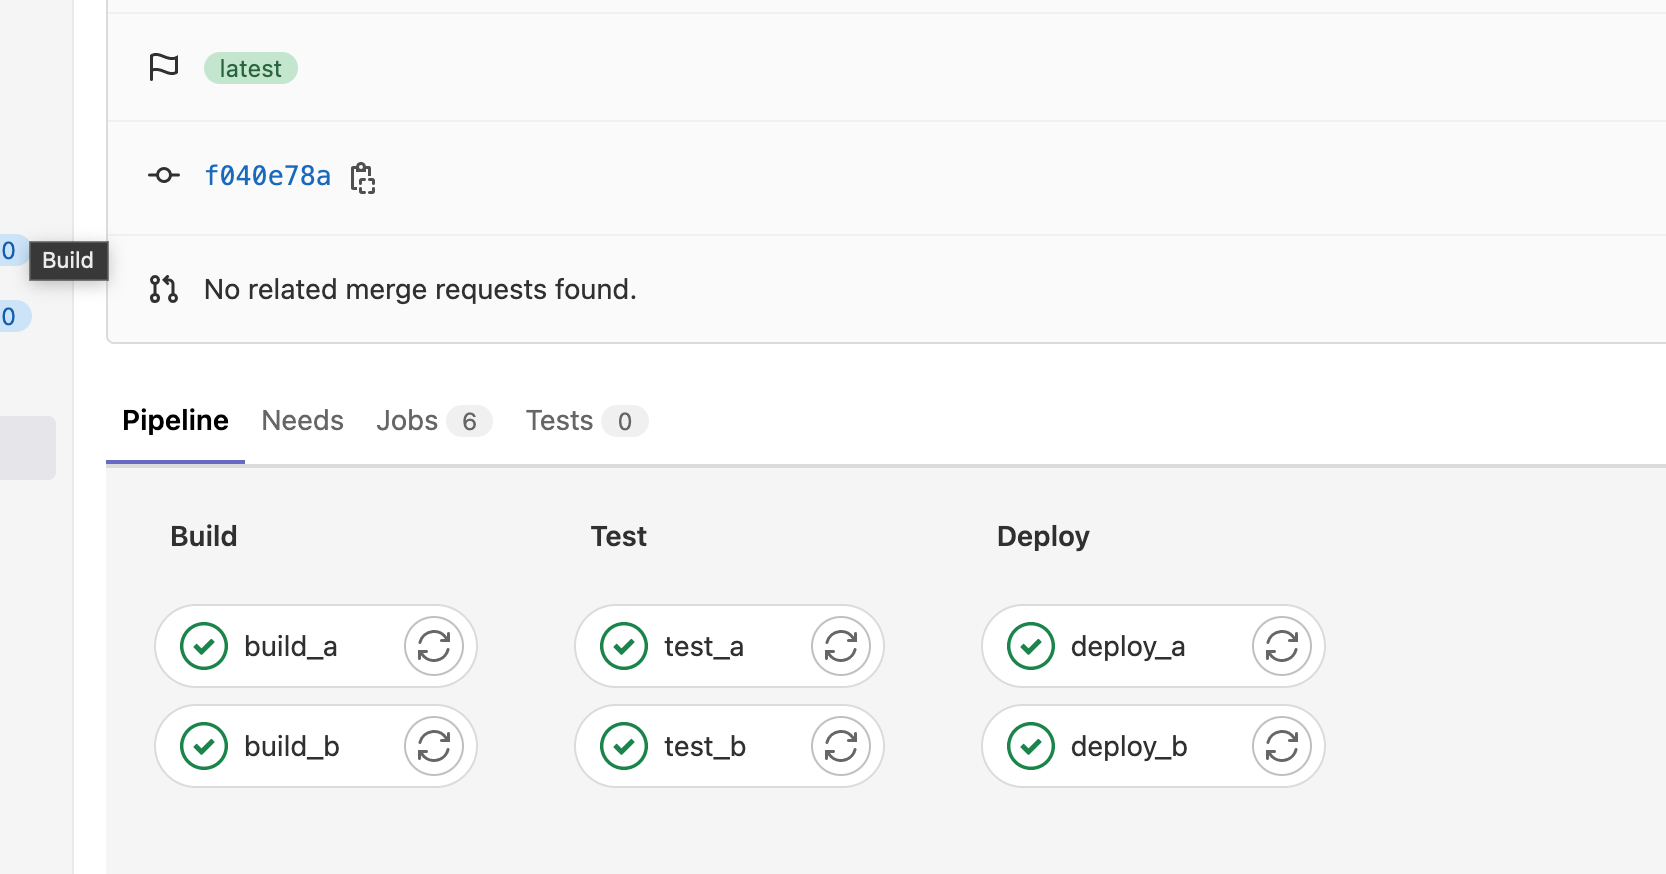
Successfully Pipeline executed
See you to the next one Regards, H